
How Much Does it Cost to Replace a Mavic Mini Arm?
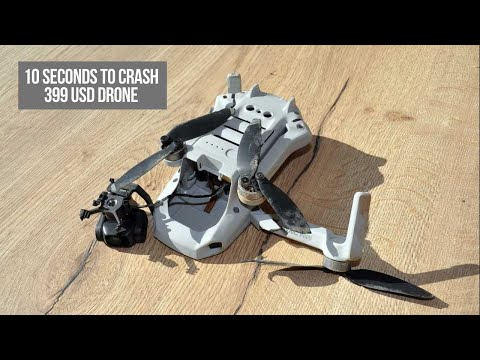
If you have encountered a crash similar to the above video of crashes, you would have most likely broken the arm on your Mavic Mini drone.
There is nothing worse than crashing your drone and finding out that you have broken one of the arms on your DJI Mavic Mini drone. This is where the panic kicks in and you are getting frustrated and overwhelmed by your mistake in piloting error and just want to give up!
Well, the repair costs might not be as bad as you may be thinking, providing you have a bit of a mechanical mind and can also use a soldering iron, or are willing to learn how to use a soldering iron quickly!
It may be tempting to just glue together the broken arm on your drone, but trust me, you are best to replace the broken arm with a new one rather than trying to glue it together and be flying your mini with a weakened arm that could potentially snap at any time with any type of force.
How Much Does it Cost to Replace a Mavic Mini Arm?

An original Mavic Mini arm with the motor will cost you as little as $29. If you know how to do some basic soldering, you can save a lot of money in repairs by doing the arm replacement yourself instead of paying $70 per hour, plus the cost of parts to repair your drone.
If you don’t have DJI care refresh or any other type of insurance on your drone, repairing it yourself can be a great way to save yourself some money on the repair costs, plus you will know how to repair it if you accidentally have another crash…….let’s hope not though!
Tools Required to Replace Your Mavic Mini Arm
- The screwdriver that came packaged with your DJI Mavic Mini.
- A flat head screwdriver to pry the Mavic Mini body apart. Note – be careful when prying the body off the drone as the plastic can break quite easily.
- Tweezers. Preferably needle-nose tweezers to make it a bit easier.
- Basic soldering iron.
- Adequate lighting.
- Mobile phone to take a photo of how the wires go back on when you are installing the new arm on your drone.
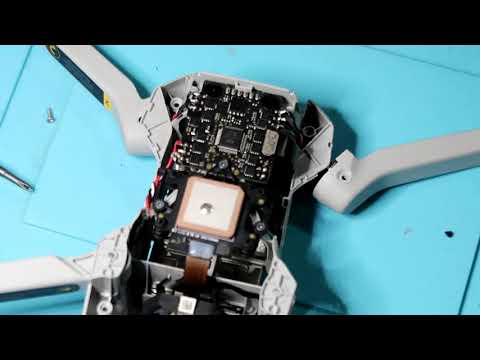
How to Replace a Mavic Mini Arm
So, instead of trying to do a step-by-step instruction on how to replace a Mavic Mini arm, I have found a great youtube tutorial to help you through the process from start to finish showing how to replace a front and rear arm on your DJI Mavic Mini drone.
Replacement Arms for the Mavic Mini Drones
DJI Mavic Mini Original Arm Replacements
Below are some Amazon links for the original Mavic Mini 1 arms to get you back in the air and flying!
Original Mavic Mini Right-Rear Arm Replacement
Original Mavic Mini Left-Rear Arm Replacement
Original Mavic Mini Right-Front Arm Replacement
Original Mavic Mini Left-Front Arm Replacement
DJI Mavic Mini 2 Arm Replacements
Mavic Mini 2 Right-Rear Arm Replacement
Mavic Mini 2 Left-Rear Arm Replacement
Mavic Mini 2 Right-Front Arm Replacement
Mavic Mini 2 Left-Front Arm Replacement
Before Soldering The New Arm to Your Mavic Mini
Before you solder the new arm to your drone it is highly recommended to desolder the existing solder to ensure that you have a secure and clean solder connection.
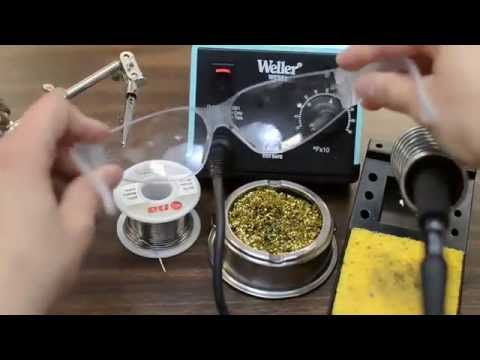
If you don’t already have a soldering iron, make sure you get one so you are ready to get your drone back into the air sooner than later!
You don’t need an expensive soldering iron to do the repairs, all you require is a basic budget solder iron like the below couple from top picks from Amazon.
Plusivo Soldering Iron Kit – with this iron you will be heated up and ready to go in just 60 seconds, easy to use, and is a great soldering iron for your money!
Q-MING Soldering Iron – this soldering iron is a budget one that is all you really need to solder the few small wires to replace the arm on your DJI Mavic Mini drone.
How to Use a Soldering Iron
If you are a newbie like I once was and not 100% sure how to use a soldering iron, I have come up with an easy step-by-step below, and also added a Youtube clip below to help you out.
 Photo by Vishnu Mohanan on Unsplash
What is Soldering
Soldering is when you use a soldering iron to heat up 2 parts that are to be joined together and melt solder over these 2 parts to essentially weld them together.
How to Use a Soldering Iron
- Consider your safety before attempting to do any soldering!! Soldering irons can reach up to an incredible 800 degrees Fahrenheit (426 degrees Celsius) and solder melts at a temperature of around 360 degrees Fahrenheit (182 degrees Celsius). You don’t want to get molten metal drip onto your hands or fingers, so make sure you wear appropriate gloves and safety glasses before starting the task!
- Find a well-ventilated area to set up your soldering gear. The fumes whilst soldering can be harmful, so ensure that the area you choose is well ventilated.
- Turn on the soldering iron and place it in the iron holder until it has heated up to the desired temperature.
- Hold the soldering iron onto the 2 pieces that are to be soldered together for around 1 second, then while holding the soldering iron in place, apply the solder for 1-2 seconds. Ensure you remove the soldering wire before lifting the soldering iron away, otherwise, you can easily damage the solder that you have just applied.
- Let the solder cool naturally. Don’t try and blow air on it to cool it quicker, as this can damage the solder curing process.
- Once the solder has cooled, check to make sure that the connection is secure.
NOTE: Before soldering the Mavic Mini arm wires to the drone, make sure you practice on something that isn’t expensive first!!!
Conclusion
I hope that this post has helped you with your Mavic Mini arm replacement.
Feel free to drop a comment about your experience with the drone arm replacement, as it could help a lot of other readers.
I hope you are back in the air and flying in no time!
Note: If you do run into issues and find it difficult to replace the arm on your DJI Mavic Mini drone, you can contact DJI support and they will give you a quote to repair your damaged drone. They usually make you send in your drone to them so they can evaluate the damage and give you a proper quote. Their service is brilliant, so this is another option if you aren’t handy or have a mechanical mind.
Happy droning!!!!